Using custom crosshair editor & generator
Home / Support
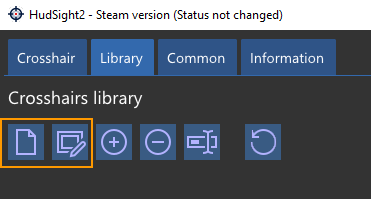
Open Library tab, select the desired crosshair and click the Edit button or click the Create New button to start with a blank image.

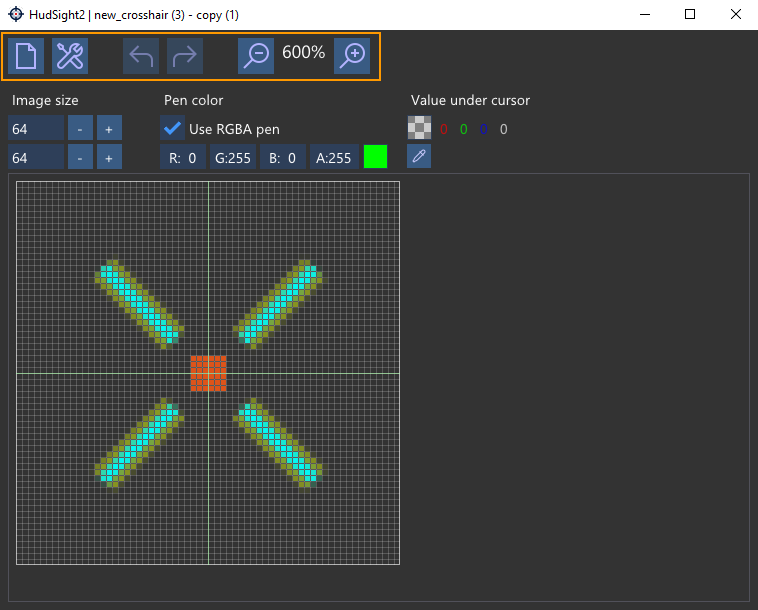
With using toolbar you can clear the image, start the generator, undo or redo your actions and zoom in/out on the image. Image size block is used to set up the desired crosshair size. We recommend to use even width or height values.

Under Pen color you can select type of the pen - 32-bits RGBA color pen or grayscale pen. Grayscale pen uses white color but you can change the transparency of that pen (0 is completely transparent and 255 is opaque).
Value under cursor shows you the color of the pixel which is currenly under your mouse cursor. With Eyedropper helper you can point to the pixel color that will be used as the for the pen.
It is very easy to draw the image. Press left mouse button and draw the desired crosshair form. Pressed right mouse button erases pixels under mouse cursor. After you close the editor window, all changes will be applied to the crosshair image automatically.
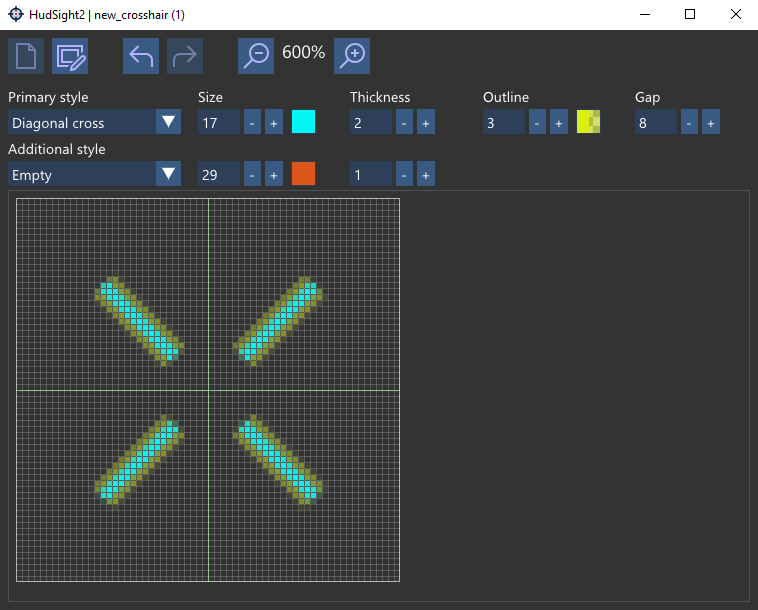
If you will click to the Generate new image button on the toolbar, our image editor will switch to generator mode. Here you can quickly create a crosshair using a set of templates.

Creating a crosshair is a very easy task. Just set the Primary style, its color, thickness, outline and gap to make its shape. Additional (or secondary) style will help you to make it more handy.


